Table of Contents
As an Amazon Associate, we earn from qualifying purchases. This means we may receive a small commission at no extra cost to you when you buy through links on this page.
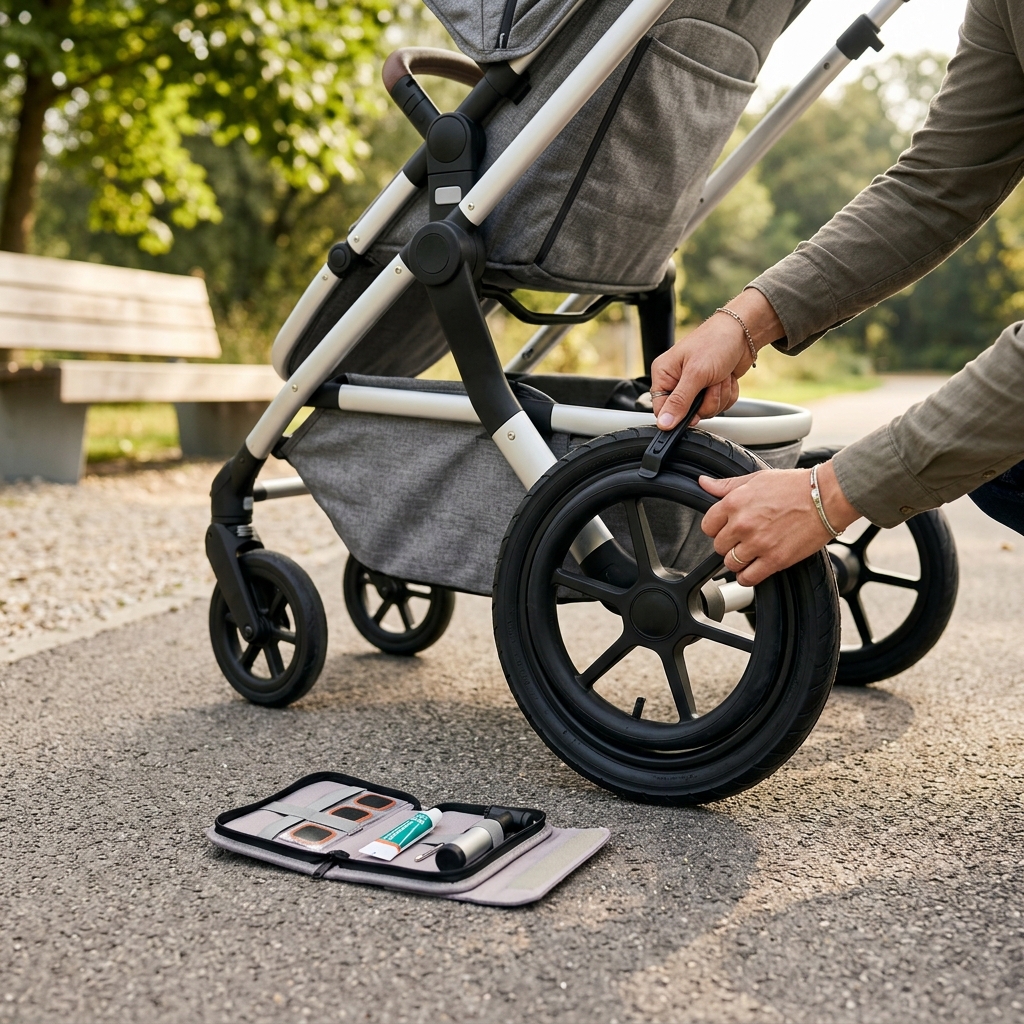
Introduction: The Unexpected Flat – Why You Need a Pushchair Puncture Repair Kit
There’s nothing quite like a leisurely stroll with your little one…until a sudden flat tyre brings it to a screeching halt. Pushchair punctures are frustratingly common, especially with the growing trend of using pushchairs on park paths, country lanes and even light off-road trails. Gone are the days of exclusively pavement-bound buggies! A puncture can disrupt a planned day out, leave you stranded, and generally cause unnecessary stress. A pushchair puncture repair kit is a small investment that can save you a lot of hassle, getting you back on the move quickly and safely. This guide will walk you through everything you need to know about choosing, using, and preventing punctures in 2026.
Understanding Pushchair Tyres: Air vs. Foam Filled
Pushchair tyres generally fall into two categories: air-filled (pneumatic) and foam-filled. Knowing the difference is key to understanding puncture risks and choosing the right repair solutions.
Air-Filled Tyres
- Pros: Superior ride comfort, better shock absorption, lower rolling resistance (easier to push), generally offer better grip.
- Cons: Prone to punctures from glass, thorns, and other debris. Require regular inflation.
Foam-Filled Tyres
- Pros: Puncture-proof! Maintenance-free – no inflation needed.
- Cons: Significantly harsher ride, less comfortable for your baby, higher rolling resistance (harder to push), can feel clunky.
While foam-filled tyres eliminate puncture worries, the comfort trade-off is significant. This makes air-filled tyres the preferred choice for many parents, and therefore, a puncture repair kit becomes an essential item.
Tyre Pressure: Maintaining the correct tyre pressure is crucial. Under-inflated tyres are more susceptible to pinch flats (snakebites), while over-inflated tyres can lead to a harsh ride and increased risk of tyre blowouts. Check the sidewall of your tyres for the recommended PSI (pounds per square inch) and use a reliable pump to inflate accordingly.
What to Look for in a Pushchair Puncture Repair Kit (2026)
A good pushchair puncture repair kit should contain the following essential components:
- Patches: Self-adhesive patches are the most convenient, but traditional glue-on patches are often more durable. In 2026, we’re seeing an increase in pre-glued patches and even patches with micro-sealant technology for enhanced adhesion.
- Glue: If using traditional patches, a vulcanising fluid (glue) is essential for creating a strong bond.
- Tyre Levers: These tools help you safely remove the tyre from the wheel rim without damaging the tube.
- Sandpaper: Used to roughen the inner tube surface for better patch adhesion.
- Air Pump/Inflator: A manual pump is reliable and doesn’t require batteries, but a CO2 inflator is much faster.
Kit Size & Portability: Consider how you’ll be carrying the kit. Compact, lightweight kits are ideal for everyday use, while larger kits may offer more comprehensive tools and supplies.
Emerging Technologies: 2026 sees the rise of self-sealing tyre sealant. These products can automatically seal small punctures as they occur, offering preventative maintenance. However, they can be messy and may not fix larger tears.
Top Pushchair Puncture Repair Kits Reviewed (UK 2026)
| Kit Name | Price (GBP) | Pros | Cons | Suitability |
|---|---|---|---|---|
| Slime Pushchair Tyre Repair Kit | £14.99 | Includes sealant, tyre levers, and inflator. Easy to use. | Sealant can be messy. May not fix large punctures. | Everyday use, small punctures. |
| Topeak Tyre Repair Kit – Mini 20 Pro | £22.50 | High-quality tools, compact design, durable. Includes CO2 inflator compatibility. | More expensive than basic kits. CO2 cartridges sold separately. | Serious cyclists/parents who want a reliable and versatile kit. |
| Milton Cycles Pushchair Puncture Repair Kit | £9.99 | Excellent value for money. Contains all the basics. | Tools are basic quality. No inflator included. | Budget-friendly option for occasional use. |
| Vittoria Butyl Patch Kit | £7.50 | High-quality patches, durable, reliable. | Requires separate glue and tyre levers. No inflator. | Experienced users who prefer traditional patching methods. |
| Lifeline Airblast CO2 Inflator Kit | £29.99 | Fast and efficient inflation. Lightweight and compact. | Expensive. CO2 cartridges are single-use and need replacing. | Quick repairs when time is of the essence. |
| Schwalbe Tyre Sealant | £12.00 | Preventative measure, seals small punctures automatically. | Can be messy, doesn’t fix large tears. Needs reapplying. | Preventative use, complementing a repair kit. |
| Continental Spare Inner Tube (Various Sizes) | £6.00 – £10.00 | Quickest fix – replace the tube rather than patch. | Requires knowing your tyre size. | For frequent punctures or a quick getaway. |
Step-by-Step Guide: How to Repair a Pushchair Tyre Puncture
- Identify the Puncture: If possible, locate the source of the puncture. A partially deflated tyre may reveal a visible object.
- Remove the Wheel: Depending on your pushchair model, you may need to remove the wheel from the pushchair frame.
- Remove the Tyre: Use tyre levers to carefully pry one side of the tyre off the rim. Work your way around the rim until one side is completely free.
- Remove the Inner Tube: Carefully pull the inner tube out of the tyre.
- Locate the Hole: Inflate the inner tube slightly and listen for the hiss of escaping air. Alternatively, submerge sections of the tube in water to find bubbles.
- Prepare the Tube: Use sandpaper to roughen the area around the puncture.
- Apply the Patch: Peel off the backing from the patch (or apply glue if using traditional patches) and firmly press it onto the roughened area.
- Re-Install the Tube: Carefully insert the patched tube back into the tyre.
- Re-Install the Tyre: Use tyre levers to work the tyre back onto the rim, starting opposite the valve.
- Inflate the Tyre: Inflate the tyre to the recommended PSI. Check for leaks around the patch.
- Re-Attach the Wheel: Re-attach the wheel to the pushchair frame.
Safety Precautions: Always work in a safe environment, away from traffic. Be careful when using tyre levers to avoid pinching the inner tube. Wear gloves to protect your hands.
Preventing Punctures: Tips for Extending Tyre Life
- Maintain Tyre Pressure: Regularly check and inflate your tyres to the recommended PSI.
- Avoid Hazardous Terrain: Steer clear of glass-littered paths, thorny bushes, and sharp objects.
- Regular Inspection: Inspect your tyres before and after each use for embedded objects.
- Tyre Liners: Consider installing tyre liners, which provide an extra layer of protection against punctures.
- Proper Storage: Store your pushchair in a dry place, away from direct sunlight and extreme temperatures.
Alternatives to Repair: Tyre Replacement & Professional Services
Sometimes, a puncture is beyond repair. Severely damaged tyres, with large tears or sidewall punctures, should be replaced. Replacement tyres are available for most popular pushchair models from online retailers and specialist baby stores.
If you’re not confident in your ability to repair a puncture yourself, or if the damage is extensive, consider using a professional pushchair repair service. Several companies across the UK offer mobile repair services or have workshops where you can take your pushchair. Expect to pay between £20 and £50 for a professional repair, depending on the complexity of the job.
FAQs: Your Pushchair Puncture Questions Answered
Q: Can I use a CO2 inflator on my pushchair tyre?
Yes, CO2 inflators are a quick way to inflate a pushchair tyre, but they are single-use and require replacing the cartridge after each use. They’re great for emergencies but can be expensive in the long run.
Q: How long will a patch last on a pushchair inner tube?
A properly applied patch can last for months or even years. However, it’s a good idea to regularly check the patch for any signs of peeling or cracking.
Q: What should I do if I get multiple punctures?
If you’re experiencing frequent punctures, it’s likely there’s a persistent source of debris in your tyres or the tube itself is old and deteriorating. Consider replacing the inner tube and thoroughly inspecting your tyres for any embedded objects.
Q: Is tyre sealant a good preventative measure?
Tyre sealant can be effective at sealing small punctures as they occur, reducing the likelihood of a flat. However, it’s messy and won’t fix larger tears. It’s best used in conjunction with a puncture repair kit.
Q: What size inner tube do I need for my pushchair?
The size is usually printed on the sidewall of your tyre (e.g., 12 1/2 x 2.25). Make sure to check this before purchasing a replacement tube.