Table of Contents
As an Amazon Associate, we earn from qualifying purchases. This means we may receive a small commission at no extra cost to you when you buy through links on this page.
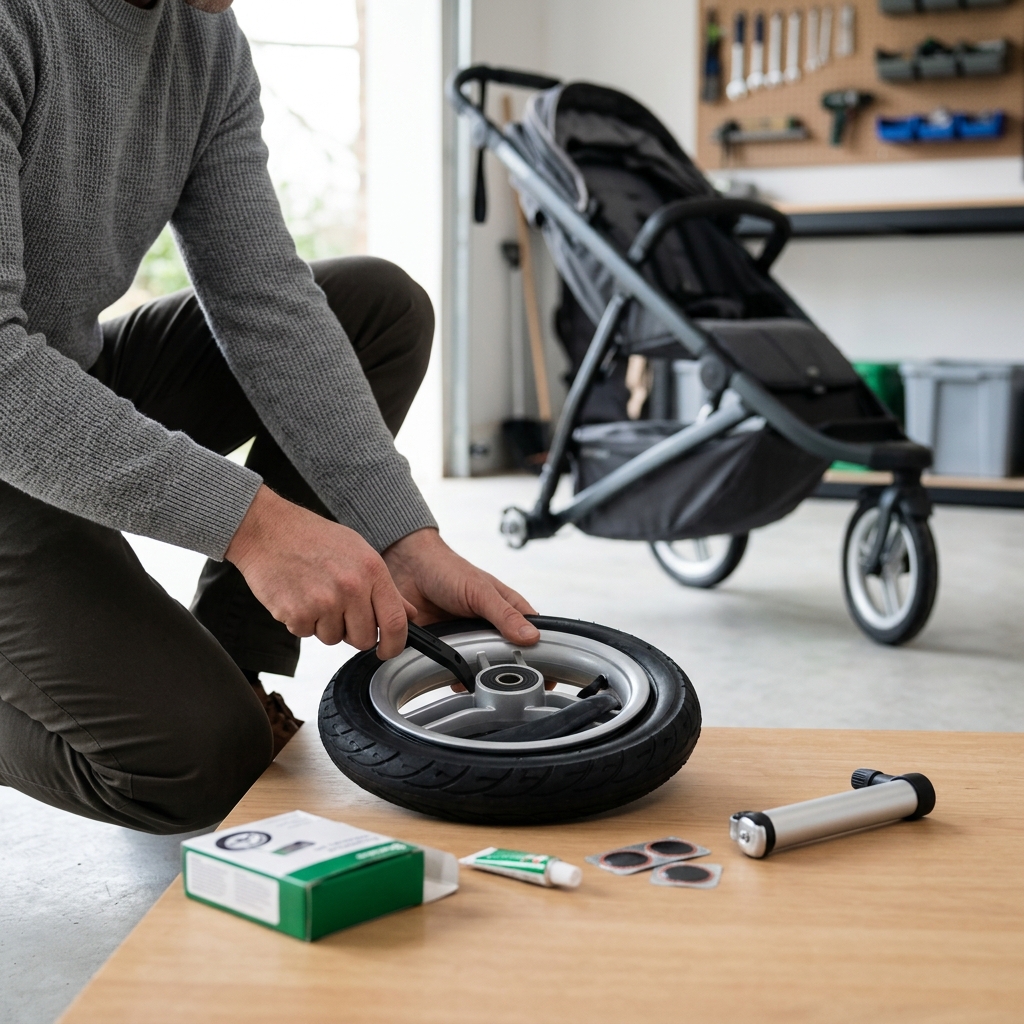
Introduction: Why Repair Your Pushchair Tyre?
Getting a flat tyre on your pushchair is a common annoyance, but it doesn’t always mean a trip to the shop for a replacement. Repairing a puncture is often quicker, cheaper, and more environmentally friendly than buying a new tyre. A new pushchair tyre can easily set you back between £30 and £60, while a repair kit costs around £12.50. Keeping your existing tyres in good condition also reduces waste. Pushchairs commonly use three main tyre types: inflatable, foam-filled, and all-terrain. This guide will focus primarily on inflatable tyre repair, as these are the most frequently encountered and easily fixed.
Understanding Pushchair Tyre Types
Let’s break down the different tyre types you’ll find on pushchairs:
Inflatable Tyres
These offer the most comfortable ride, absorbing bumps effectively. They require regular pressure checks. They are the most repairable type, using the methods detailed in this guide.
- Pros: Comfortable ride, good shock absorption, relatively lightweight.
- Cons: Prone to punctures, require regular inflation.
Foam-Filled Tyres
These tyres use a solid foam insert, eliminating the risk of punctures. They offer a firm ride.
- Pros: Puncture-proof, low maintenance.
- Cons: Hard ride, heavier than inflatable tyres, generally not repairable if damaged.
All-Terrain Tyres
Typically inflatable with a more aggressive tread pattern, these are designed for use on uneven surfaces. They offer a good balance of comfort and durability.
- Pros: Good grip on various terrains, comfortable ride (if inflatable).
- Cons: Can be heavier, may require higher pressure for optimal performance.
Valve Types: Most pushchair inflatable tyres use either Schrader or Presta valves. Schrader valves are similar to those found on car tyres – wider and with a spring-loaded pin. Presta valves are thinner and require unscrewing the valve nut before inflation.
Tools You’ll Need for Pushchair Tyre Repair
Before you start, gather these essential tools:
- Tyre Levers (3-pack): £8.99 – For safely removing the tyre from the rim. (Vittoria Tyre Levers)
- Pump: £30.0 (Lezyne Road Drive SL Hand Pump) or £45.99 (Topeak JoeBlow Sport III Floor Pump) – To inflate the tyre after repair. A floor pump makes the job much easier.
- Puncture Repair Kit: £12.5 (Continental Pushchair Puncture Repair Kit) – Includes patches, glue, and sandpaper.
- Valve Core Tool: Often included in puncture repair kits. Used to remove and tighten the valve core.
- Bucket of Water: For finding the puncture.
- Optional: Spoke Wrench: Useful if you suspect a spoke is loose or damaged.
Step-by-Step Guide: Repairing a Puncture in an Inflatable Pushchair Tyre
- Remove the Wheel: Carefully remove the wheel from the pushchair according to the manufacturer’s instructions.
- Remove the Tyre: Use tyre levers to carefully pry one side of the tyre off the rim. Start with one lever, hook it onto a spoke, then insert a second lever a few inches away and pry again. Repeat with a third lever until one side of the tyre is completely off the rim.
- Remove the Inner Tube: Once one side of the tyre is off, carefully remove the inner tube.
- Find the Puncture: Inflate the inner tube slightly and submerge it in a bucket of water. Look for bubbles – this indicates the location of the puncture.
- Prepare the Tyre Surface: Once found, dry the area around the puncture. Use the sandpaper from the repair kit to roughen the surface of the inner tube around the hole. This helps the glue adhere properly.
- Apply the Patch: Apply a thin, even layer of glue to the roughened area. Wait a few minutes for the glue to become tacky. Apply the patch firmly, pressing it down for at least a minute.
- Re-install the Inner Tube: Slightly inflate the inner tube to give it some shape. Carefully insert the valve stem into the hole in the rim.
- Re-install the Tyre: Starting opposite the valve, carefully work the tyre back onto the rim. Use your thumbs to push the tyre bead over the rim. The last section may require tyre levers, but be cautious not to pinch the inner tube.
- Inflate the Tyre: Inflate the tyre to the recommended pressure (printed on the tyre sidewall). Check for leaks around the valve and tyre bead.
Dealing with Valve Issues
Sometimes the problem isn’t the tyre itself, but the valve.
Leaky Valves
A leaky valve can often be fixed by tightening the valve core with a valve core tool. If tightening doesn’t work, replace the valve core – these are inexpensive and readily available.
Broken Valve Cores
If the valve core is damaged, it *must* be replaced. Removing the old core and inserting a new one is a simple procedure using the valve core tool.
When a Valve Cannot Be Repaired
If the valve stem is cracked or the valve body is severely damaged, the entire inner tube needs to be replaced. Attempting to repair a severely damaged valve is unsafe.
Preventative Maintenance: Avoiding Pushchair Tyre Problems
Taking preventative measures can significantly reduce the likelihood of punctures:
- Check Tyre Pressure Regularly: Underinflated tyres are more prone to pinch flats. Check the pressure before each use, or at least weekly.
- Avoid Debris: Steer clear of glass, thorns, and other sharp objects.
- Store the Pushchair Correctly: Avoid storing the pushchair in direct sunlight or extreme temperatures, as this can degrade the tyres.
- Choose Appropriate Tyres for Terrain: All-terrain tyres are best for rough surfaces.
- Tyre Liners: Consider using tyre liners (£10-£20 per tyre) as an extra layer of protection against punctures.
When to Replace Your Pushchair Tyre
Repair isn’t always possible or safe. Consider replacing your tyre if:
- Large Tears or Cuts: If the tyre has a large tear or cut, it cannot be reliably repaired.
- Sidewall Damage: Damage to the sidewall compromises the tyre’s structural integrity.
- Excessive Wear: If the tyre tread is worn down to the point where it offers little grip, it’s time for a replacement. (A good indicator is when the tread depth is less than 1mm.)
- Repeated Punctures: If you are frequently repairing punctures, the tyre is likely weakening and should be replaced.
Using a damaged tyre can be dangerous, affecting the pushchair’s stability and braking performance.
Pushchair Tyre Repair FAQs
Q: Can I repair a puncture on a foam-filled tyre?
No, foam-filled tyres are generally not repairable. The solid foam insert cannot be patched. If a foam-filled tyre is damaged, it needs to be replaced.
Q: How often should I check my tyre pressure?
Ideally, check your tyre pressure before each use. At a minimum, check it weekly. Maintaining the correct pressure will improve the ride quality and prevent punctures.
Q: What PSI (pounds per square inch) should my pushchair tyres be inflated to?
The recommended PSI is printed on the tyre sidewall. It typically ranges from 30-60 PSI, but always refer to the tyre’s markings for the correct pressure. Do not exceed the maximum recommended pressure.
Q: Can I use a car tyre inflator on my pushchair tyres?
Yes, but be careful! Car tyre inflators can deliver a lot of air pressure quickly. Use the inflator carefully and monitor the pressure closely to avoid overinflation. You may need an adaptor if your pump doesn’t fit the valve type.
Q: Are all puncture repair kits the same?
Most kits contain the same basic components (patches, glue, sandpaper), but quality can vary. Look for kits from reputable brands like Continental or Schwalbe for better adhesion and durability. A kit costing £35.0 (Schwalbe Marathon GL Tyre) could be a good investment.